
视频讲解:YouTube Bilibili
1.安装python3
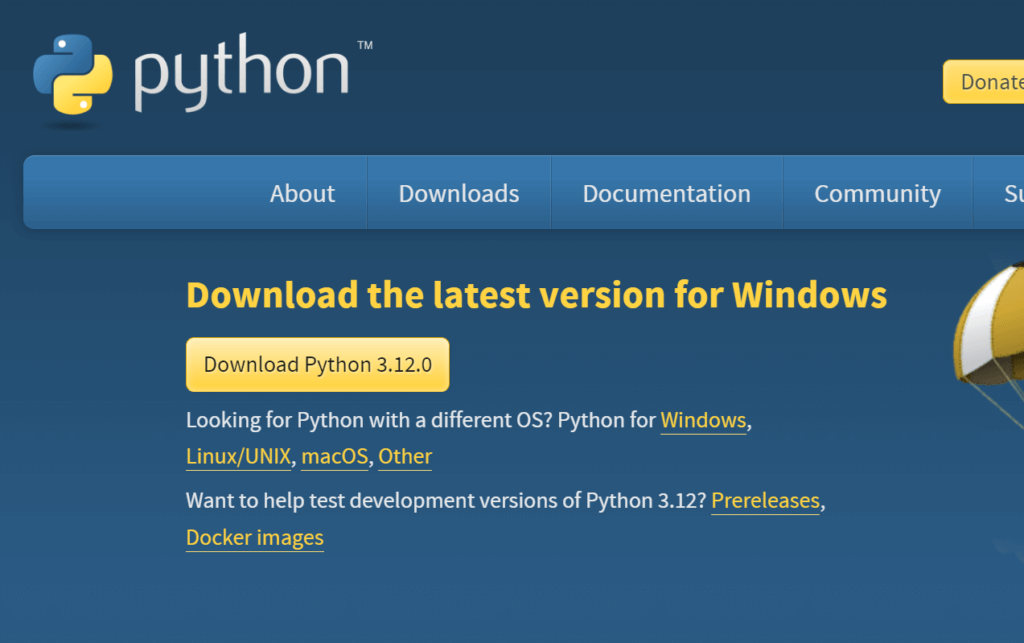
首先去官网下载 python3,点击Download
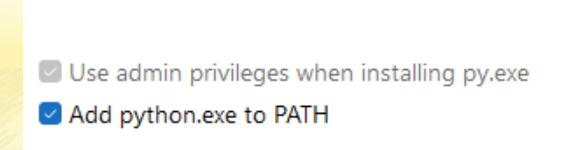
然后勾选添加路径 Add to PATH
然后一路下一步安装即可 (勾选内容不确定的,可以参照视频:YouTube,Bilibili)
2. 安装环境包(10月25号更新)
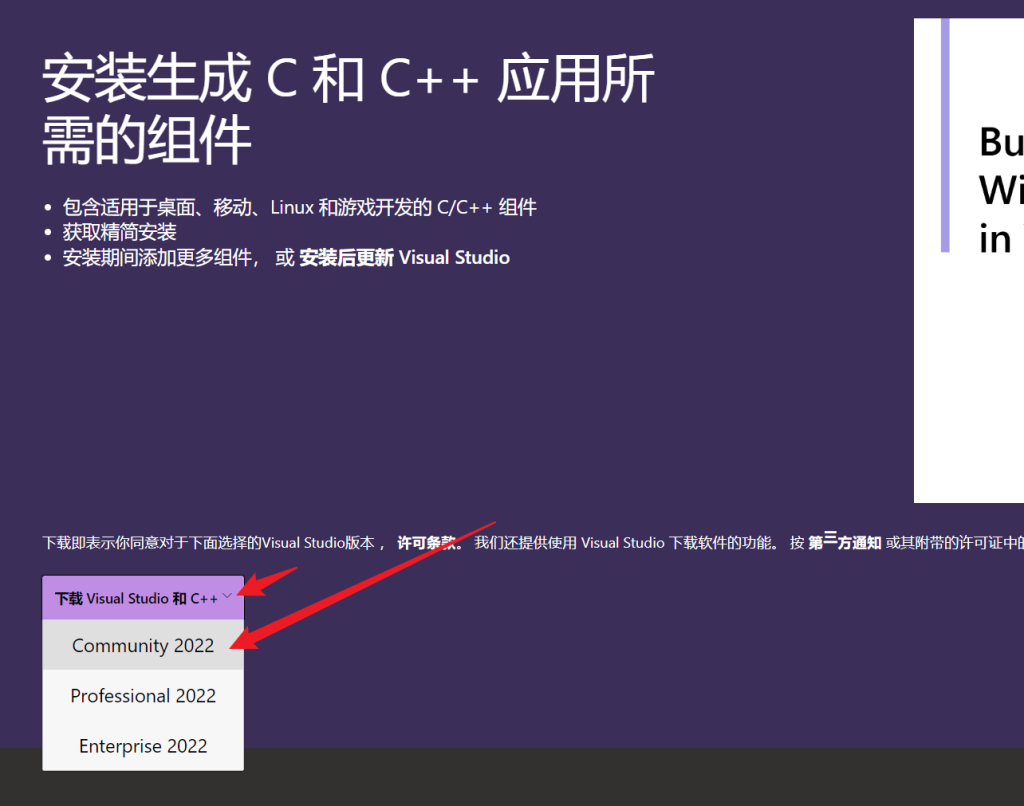
部分朋友的机器上可能缺失一些环境包,导致安装Auto-Editor会出错。
安装这个环境包就可以解决:visual studio with c++ (选择community版本即可)
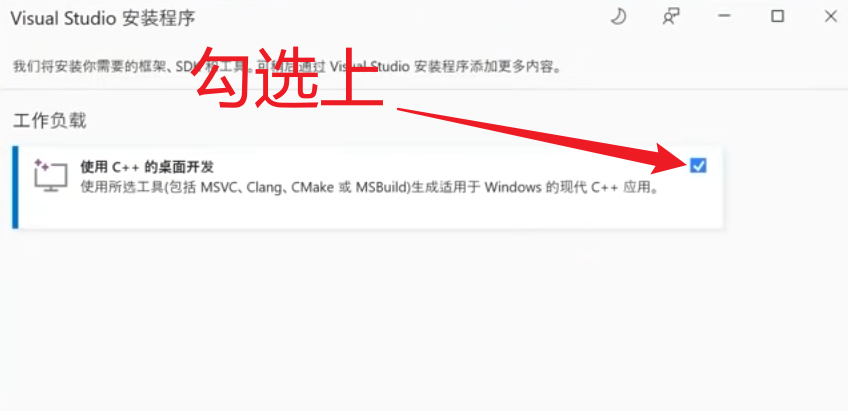
然后安装,耐心等待一下即可。
3.安装自动剪辑工具Auto-Editor
打开自带的 powershell 或者cmd 都可以
输入安装指令
pip install auto-editor
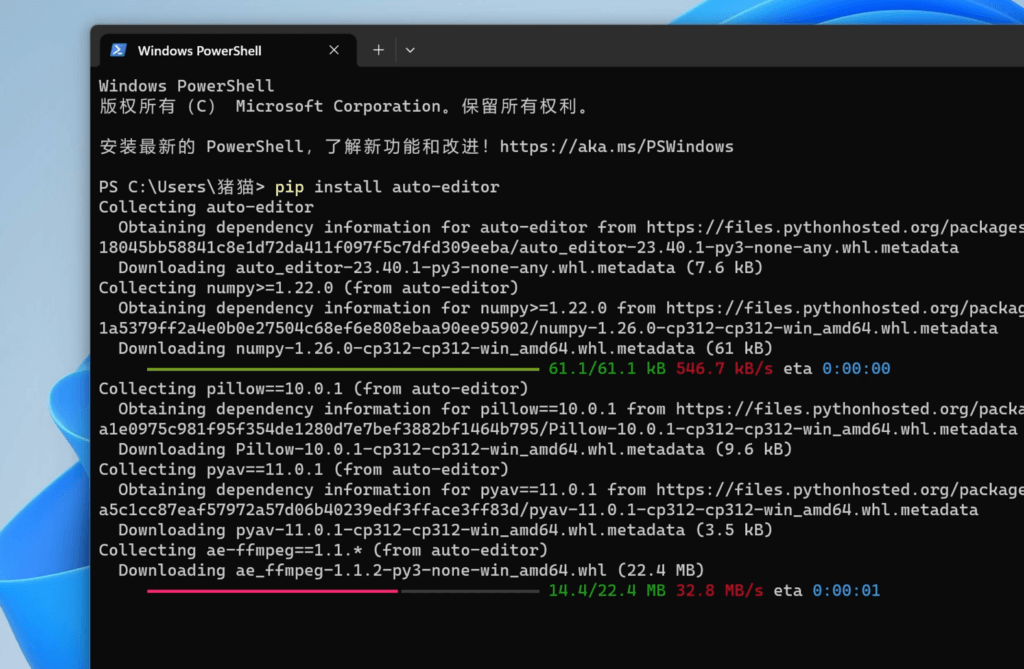
等待安装完毕
3.一键自动剪辑,自动出片
输入命令: 把“{你的路径}”替换成视频文件的路径 (或者直接把视频拖进去)
auto-editor {你的路径}

然后回车,就开始自动剪辑了,完成后自动生成新的视频

4.二次精剪(进阶用法)
auto-editor C:\你的视频.mov --export resolve
导出到不同剪辑软件
- Premiere with –export premiere
- DaVinci Resolve with –export resolve
- Final Cut Pro with –export final-cut-pro
- ShotCut with –export shotcut
视频里提到的用法
# 剪辑多保留边缘帧
--frame_margin 10

# 剪辑多保留边缘时间
--margin 0.2sec
更多进阶用法见GitHub页面